Mobile Inspector App
Mobile Inspector App User Guide 📱
Can I inspect without the App installed?
Where can I find the Android App?
Where can I find the iOS App?
Account Setup and Administration
Accounting with Intuit QuickBooks Online
Exporting Property Data
Hardware and Software Requirements
Historical Violation Imports
How do I edit CC&R Articles?
How do I get my data out of Buildium?
Importing Property Lists
Is HOALife down?
Matched Ownership - Linking Properties
Property List Format
Security and Backup
User Setup
Adding Users to Accounts
Administrator Permissions
Architectural Committee Member Permissions
Architectural Committee Voter Permissions
Board Member Permissions
Inspector Permissions
Manager Permissions
Notification Preferences
Read Only Permissions
Reset Password
Staff Permissions
Dashboard: Features & Settings
AI Settings
Annotation
Association Website Feature
Custom Property Information
Document Repository
Owner Directory
Portal Access with QR Codes and PINs
Portal Announcement
Property Notes
Shared Inbox
Tags!
Violation Management & Notices
Automatic Violation Closed Emails
Changing the Style of a Violation Stock Notice
Repeat Violations
Tracking Violation Resolution (Closing)
Violation Notice Cover Letters
Violation Notice Deliveries
Violation Notices
Video Tutorials
Adding & Editing CC&R Articles - Video
Adding New Users - Video
Architectural Requests Overview - Video
Bulk Communications - Video
Creating Invoices through HOALife - Video
Document Repository - Video
HOALife Owner's Portal Tutorial Video - For Homeowners
Online Voting - How to Set Up - Video
Property Conversations - Video
Property Ownership Changes - Video
Tags! - Video
Updating Property Pins - Video
Violation Notice Delivery - Video
Calendars & Events
Escalations
Communications
Bulk Email Conversations
Bulk Letters
Dynamic Variables in Letter & Email Templates
Ensuring Email Delivery From HOALife
How to Generate Mailing Labels
Message to Management
Property Conversations
Property Letter Templates
Property Letters
Return Email Addresses
SMS Broadcasts
Sending a Welcome to HOALife Email & Letter
Payments & Invoicing
Homeowner Payment Options - Auto Pay
Invoicing with Quickbooks Online
Payment Posting Timeline
🏦 Payments Administration Guide
Owner Series
Homeowner Payments Guide
Maintenance Requests & CCR Violation Submissions
Owner Message to Manager
Owner Portal Login
Owner Series - How to Cast Your Vote
Owner Series - How to Submit an Architectural Request
Owner's Portal Tutorial
Updating Your Contact Information - Owner Level
Architectural Requests
Architectural Forms - View as Generic Request Form
Architectural Letter and Email Templates
Architectural Requests Overview
Creating Architectural Request Forms
Payments: Charging for Architectural Request Submissions
Assets & Work Orders
Inspections
Add an out-of-inspection violation to a property
Advanced Routing
Customized Inspection Routing
Inspection Summary Report
Online Voting
Property Ownership Updates and Changes
- All Categories
- Inspections
- Advanced Routing
Advanced Routing

Out-of-the-box, HOALife Inspector presents all properties for inspection, split into routes by street name, and organized by nearest GPS location to the inspector as they navigate the community. This configuration is perfect for most communities, but some teams might want more finely-grained control.
Route Groups
Route Groups allow dividing your community into sub-sections for inspection by property route. This is a good fit for communities that are:
- Too large to inspect in a single effort
- Spreading inspection responsability across multiple team members
- Inspect sections/streets/sub-associations at varying intervals
- Within your community, navigate to Properties > All Properties. Select Route Groups


- By default, no Route Groups exist. Create a new Route Group.
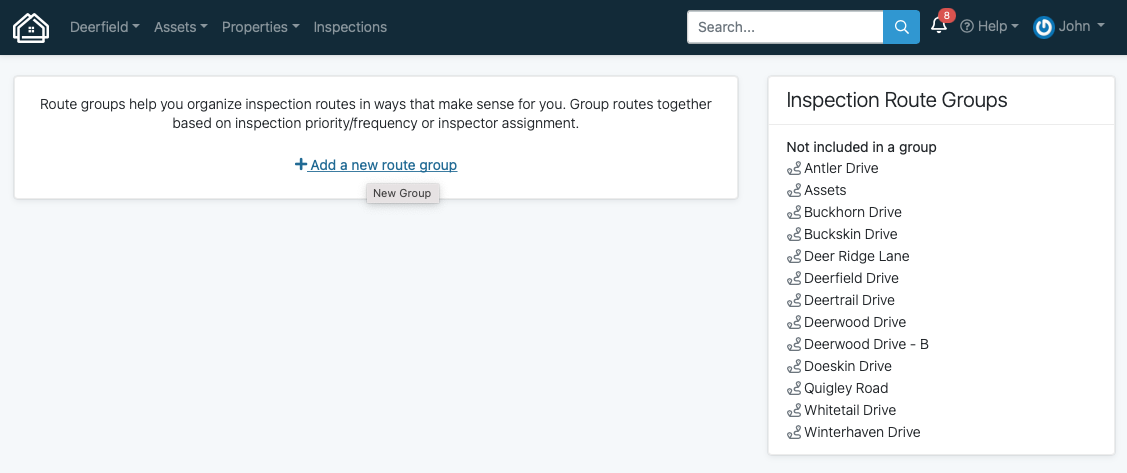
- Give your Route Group a name, and select the routes you'd like to include.
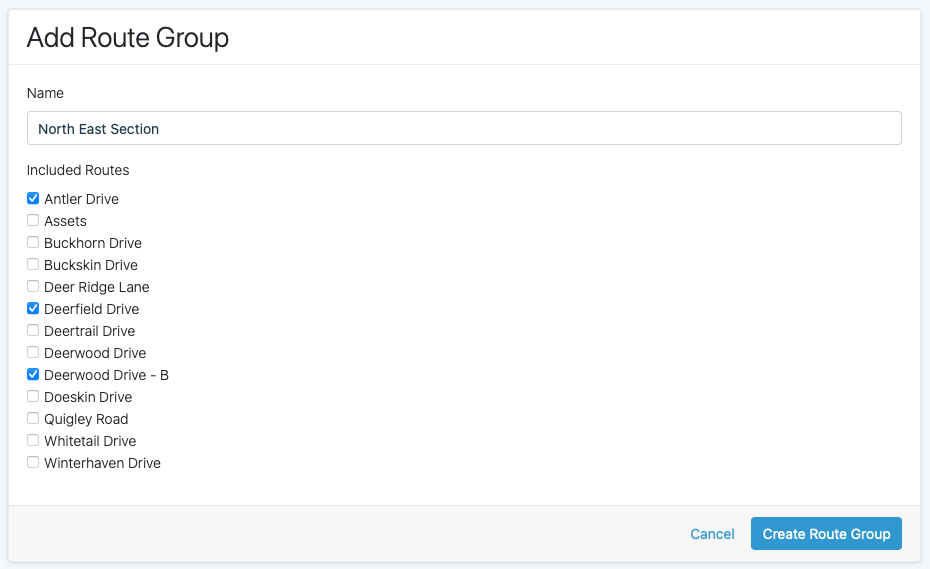
- Repeat steps 2 and 3 until all your routes belong to a group.
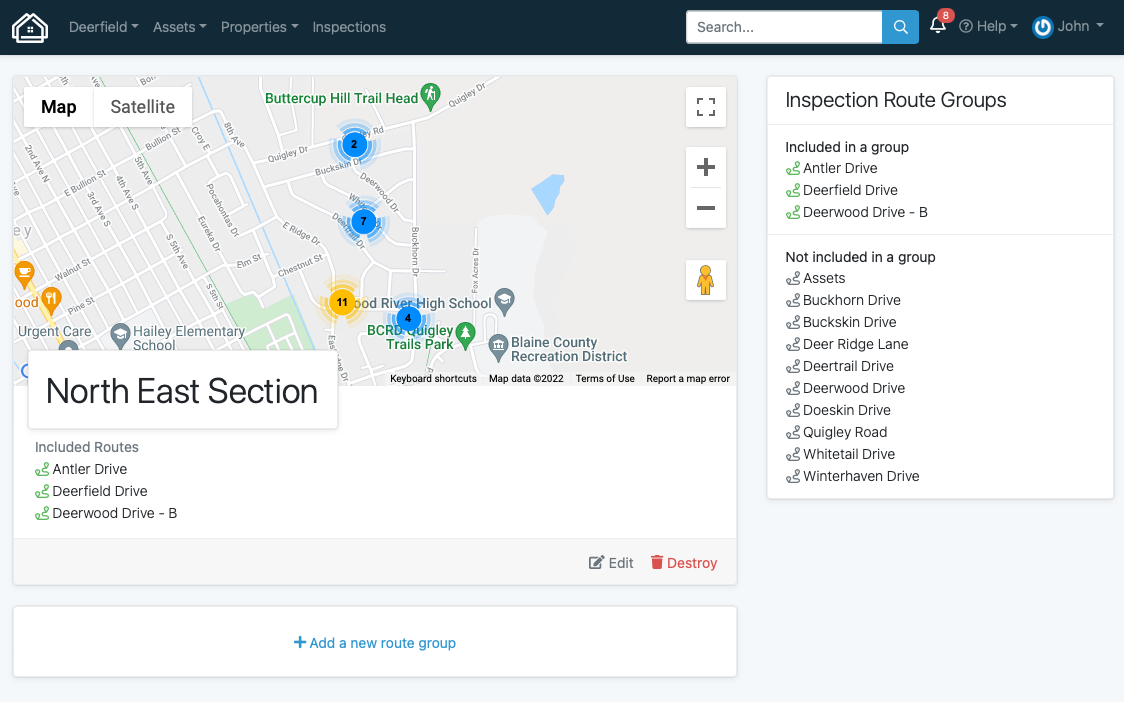
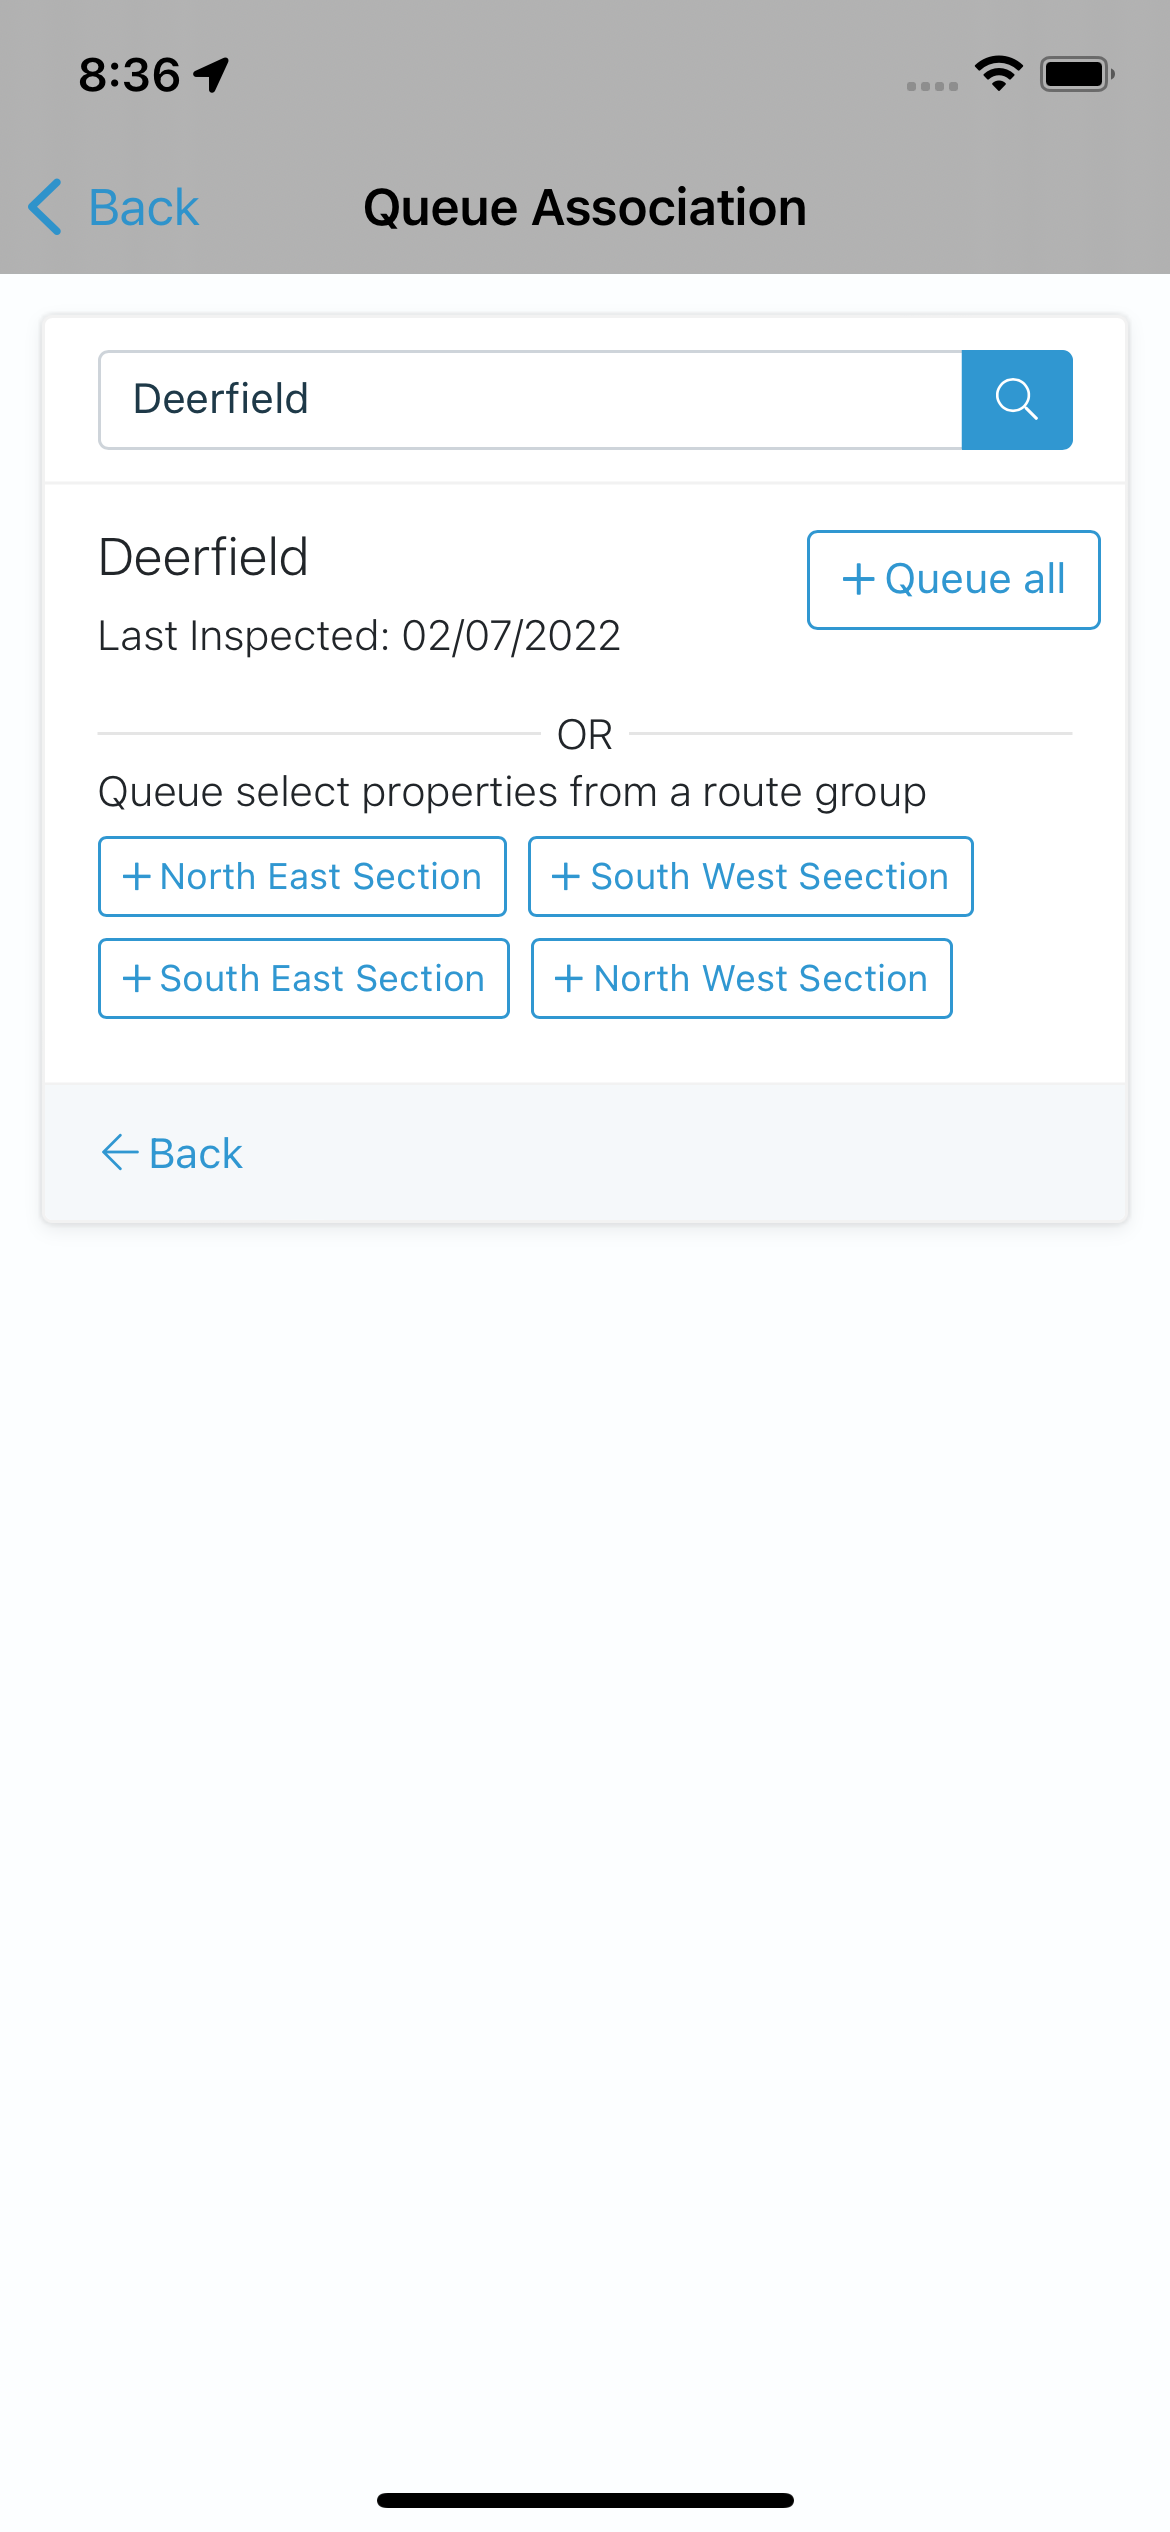
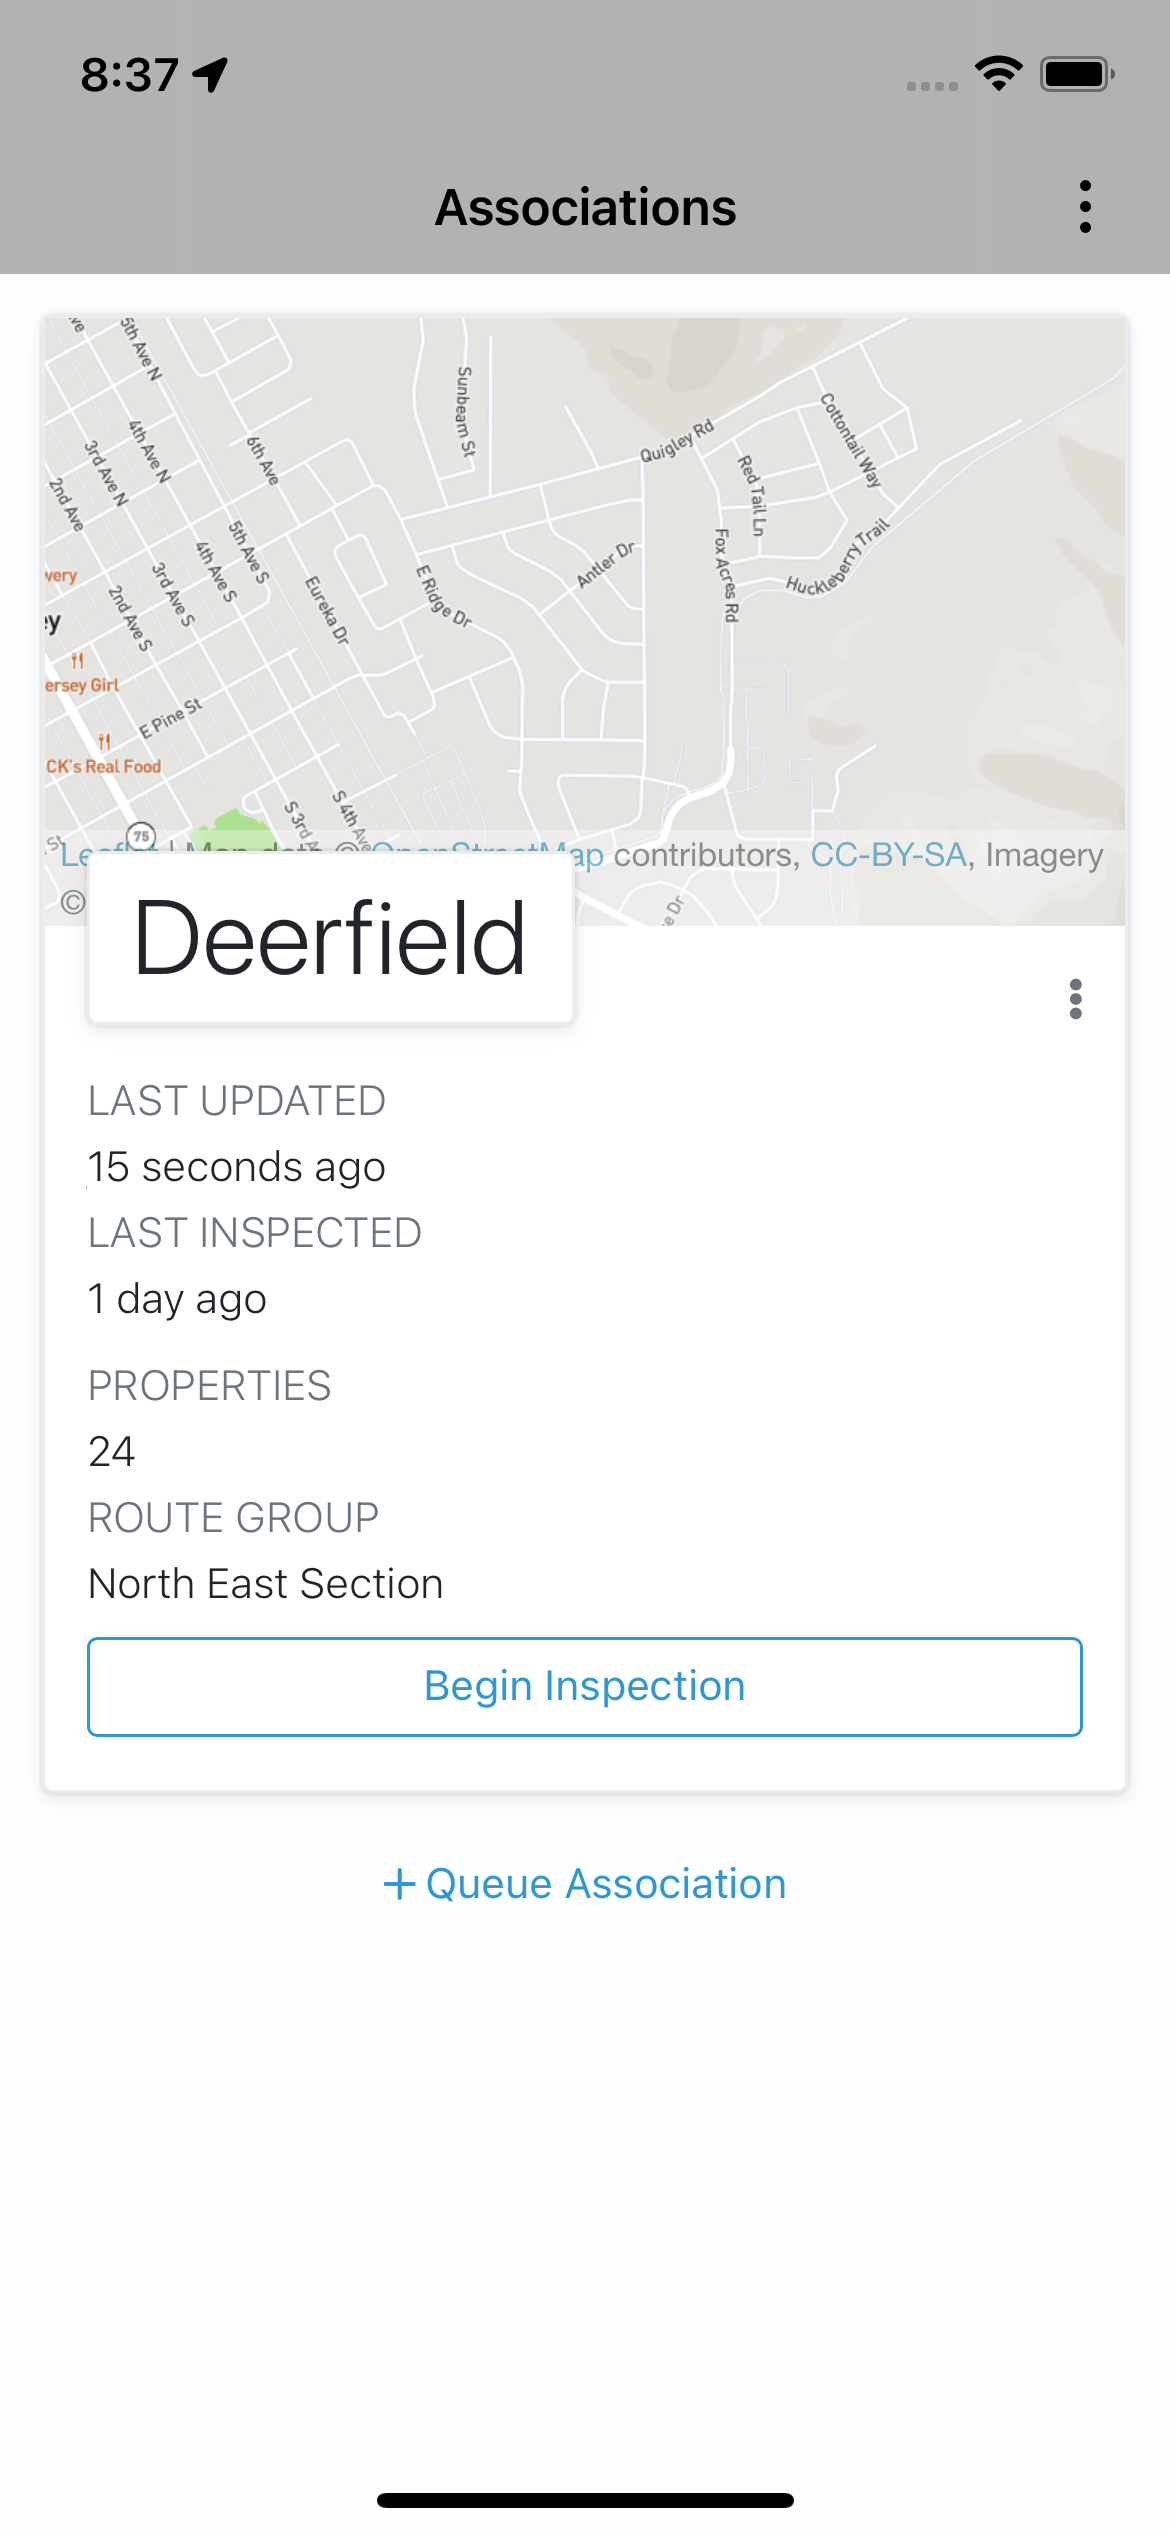
- When performing an inspection, select the group you'd like to inspect. Only properties and routes from that group will be queued.
Custom Property Inspection Routes and Route Legs
By default, a properties are grouped together by street name. This may not be optimal for long streets or streets that broken up. Routes can be customized or broken up into separate legs. If this would help your inspection flow, reach out to support@hoalife.com for help.
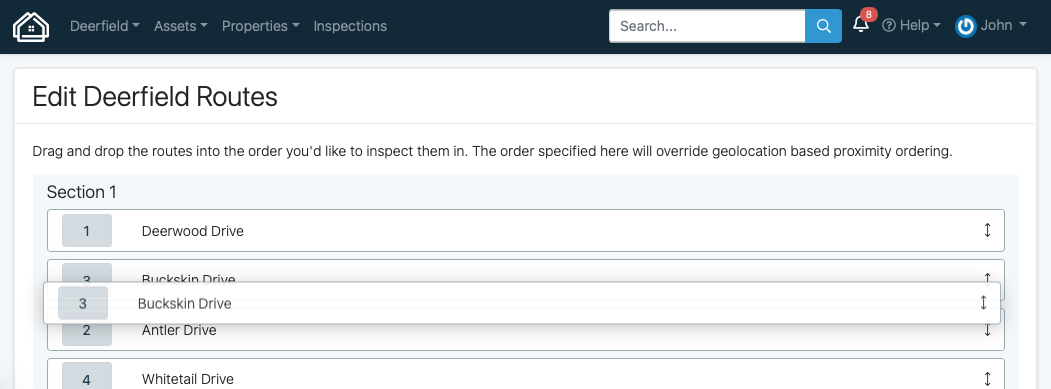
Custom Route Orders
If you'd like to navigate your community during an inspection in a manner other than GPS-based nearest position, you can hard-code the order in which routes are presented.
- Within your community, navigate to Properties > All Properties. Select Route Orders

- Drag the Routes into the order (top is first, bottom is last) you'd like the routes display in. If you've created Route Groups, you will only be able to sort a route within that group.